
1-2-3 Home Composting Guide
by Cecily Frazier, Rhinebeck Resident and Ulster County Master Gardener Volunteer
Composting at home is easy. Mother Nature has been composting for millions of years without any fancy equipment. (She also never goes online to do research.) You can do it too!
What do you need to get started?
Some folks like to use a bin or other container for composting (you can even try vermiculture—composting with worms!). With this guide, we focus on the essentials to launch a compost pile in your yard. Like most projects, you can always buy stuff later if you think you need something, but to start I suggest only a few things:
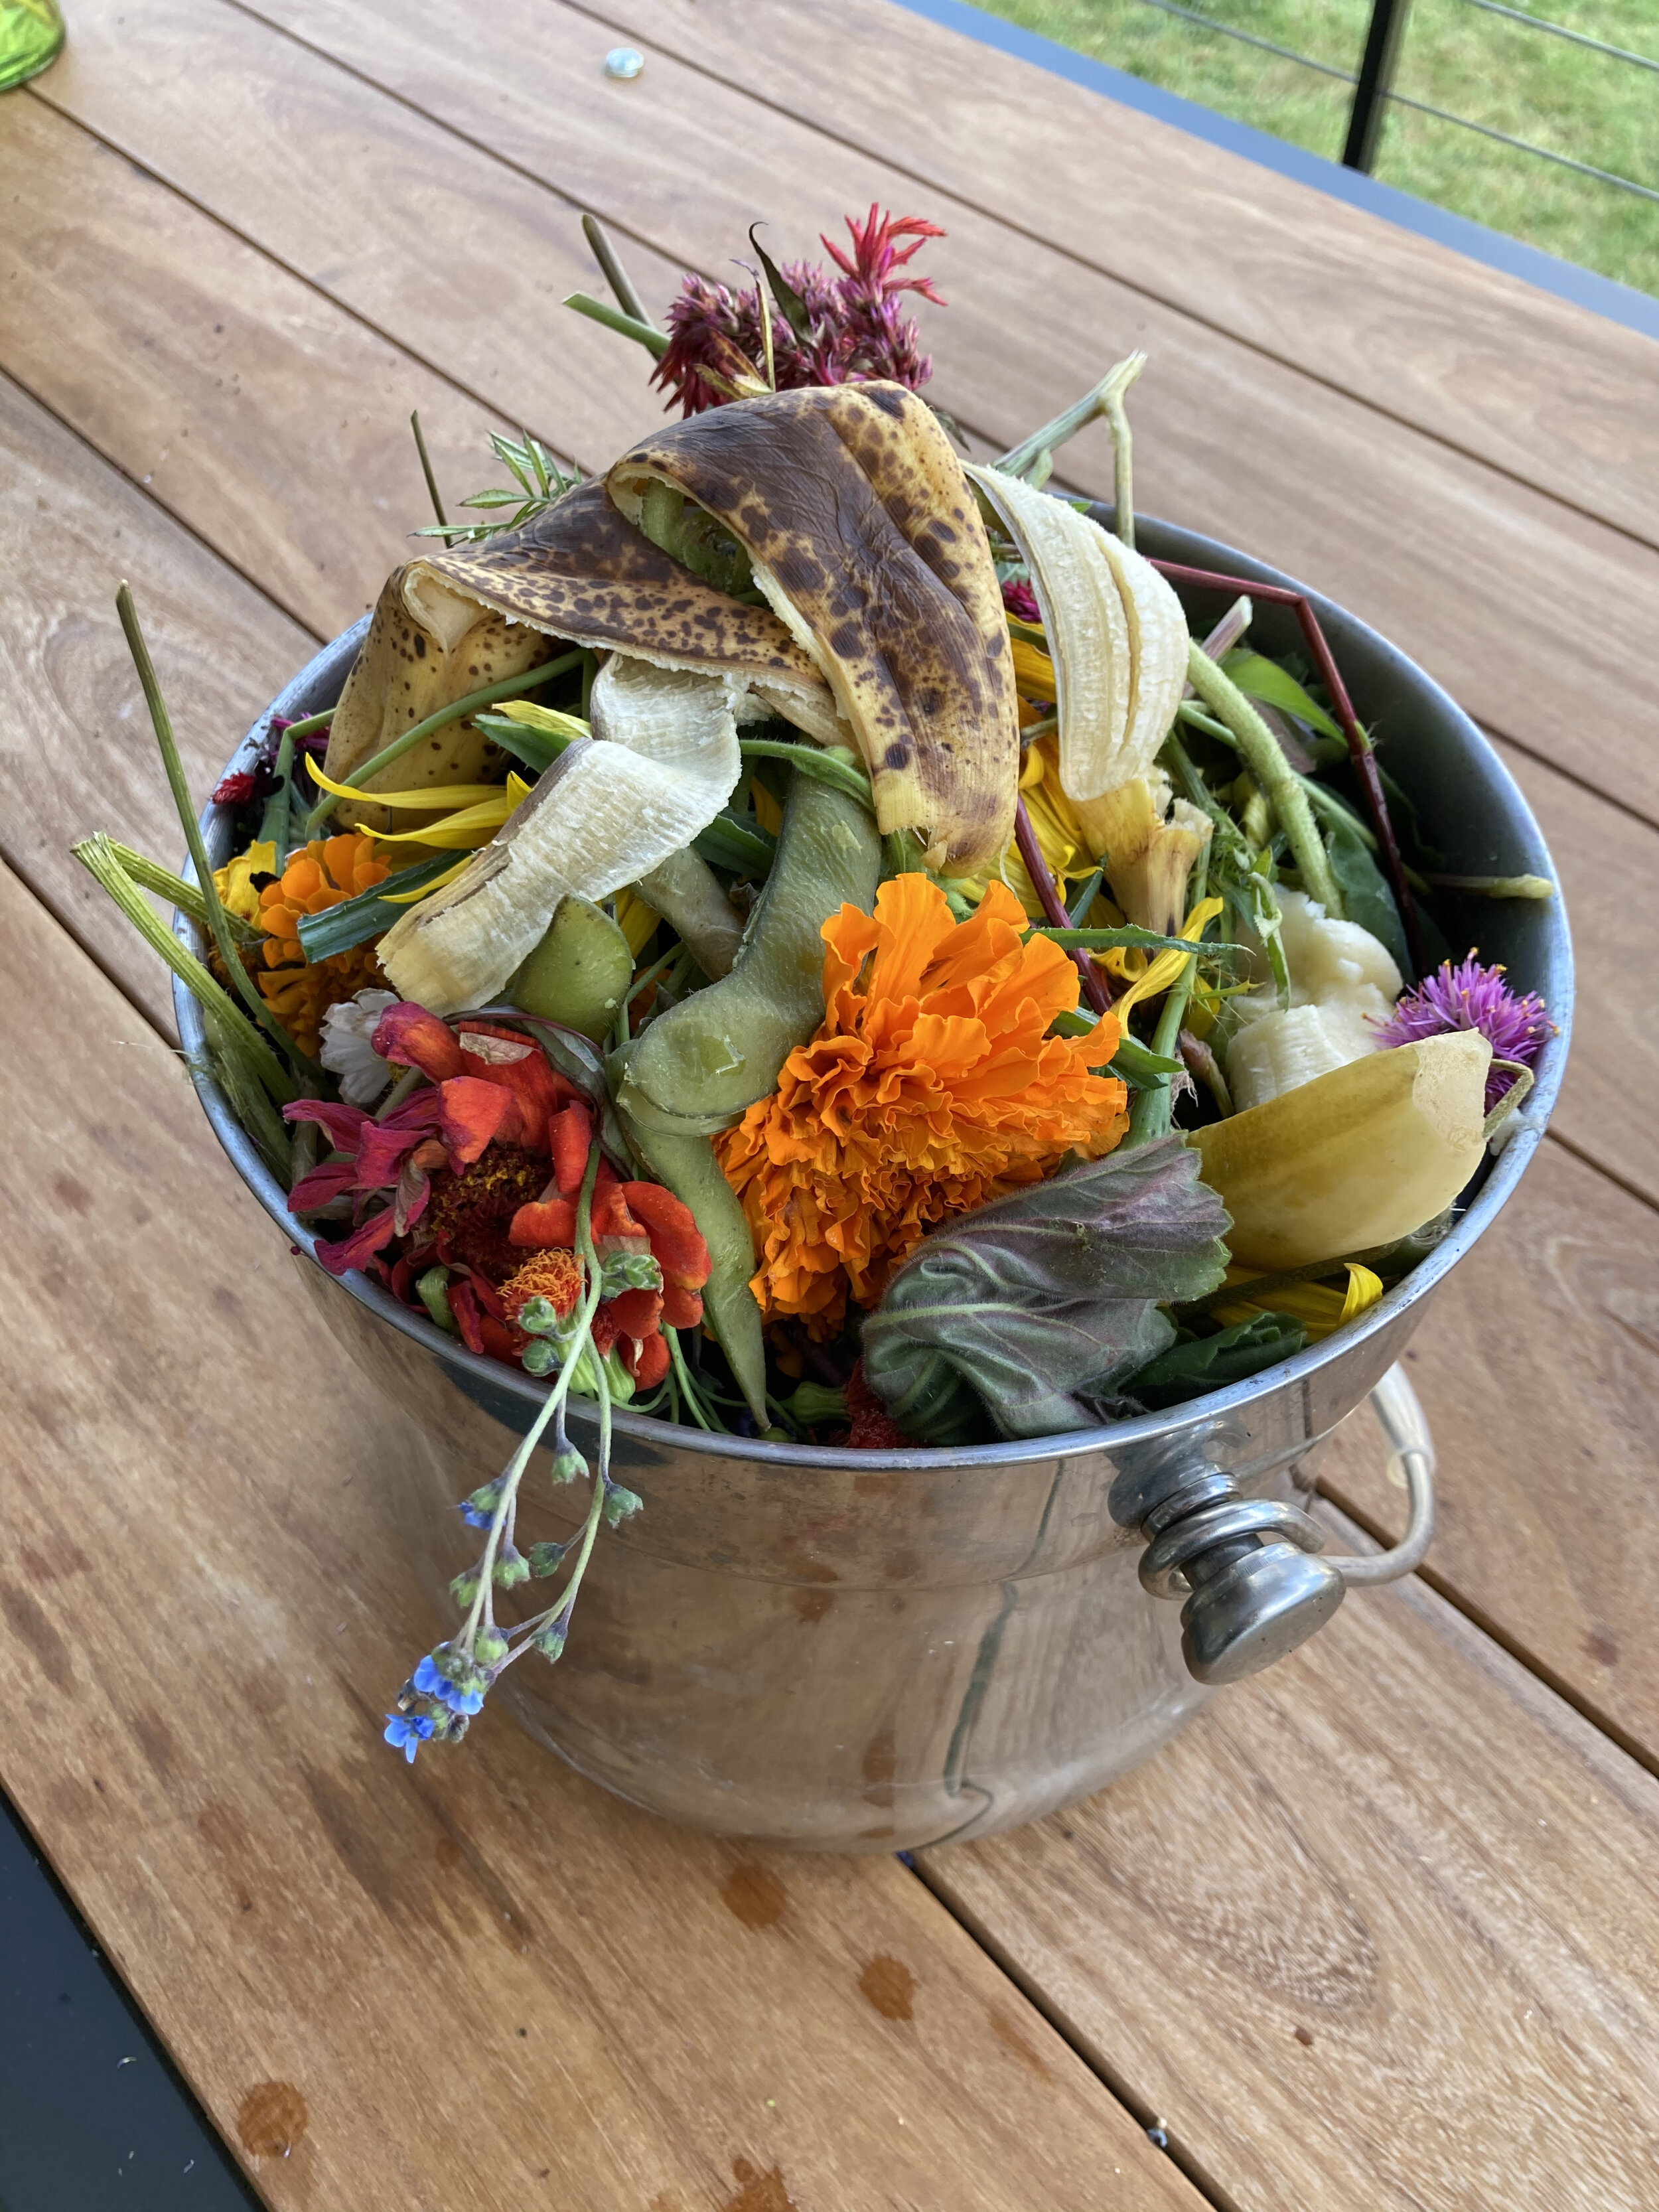
A lidded bucket to collect kitchen scraps
You can buy an attractive compost bucket to match your kitchen, or just use a gallon bucket you keep under the sink. It definitely needs a well-fitting lid to keep in any smells and keep out fruit flies. It should be washable and if you’re like me, unbreakable, and it should be able to hold at least one day’s worth of vegetable remains or more. Most hold about 1 gallon.

A spot to put the compost pile
It should be at least 3’ x 3’. It can be in sun or in part shade. Full shade is not the best but could work if you have no other choice. If you have a garden, it is a good idea to site the compost near the garden so you can easily add things that drop to the ground, weeds, and garden debris. Being close to the house is also a good idea, since you’ll make lots of trips between the house and the compost pile. It is not the prettiest thing and it may occasionally smell, so not too close to the patio is also a good idea, but you could also put up a screen for aesthetics. A smelly compost pile is easily fixed so that is not a major concern.
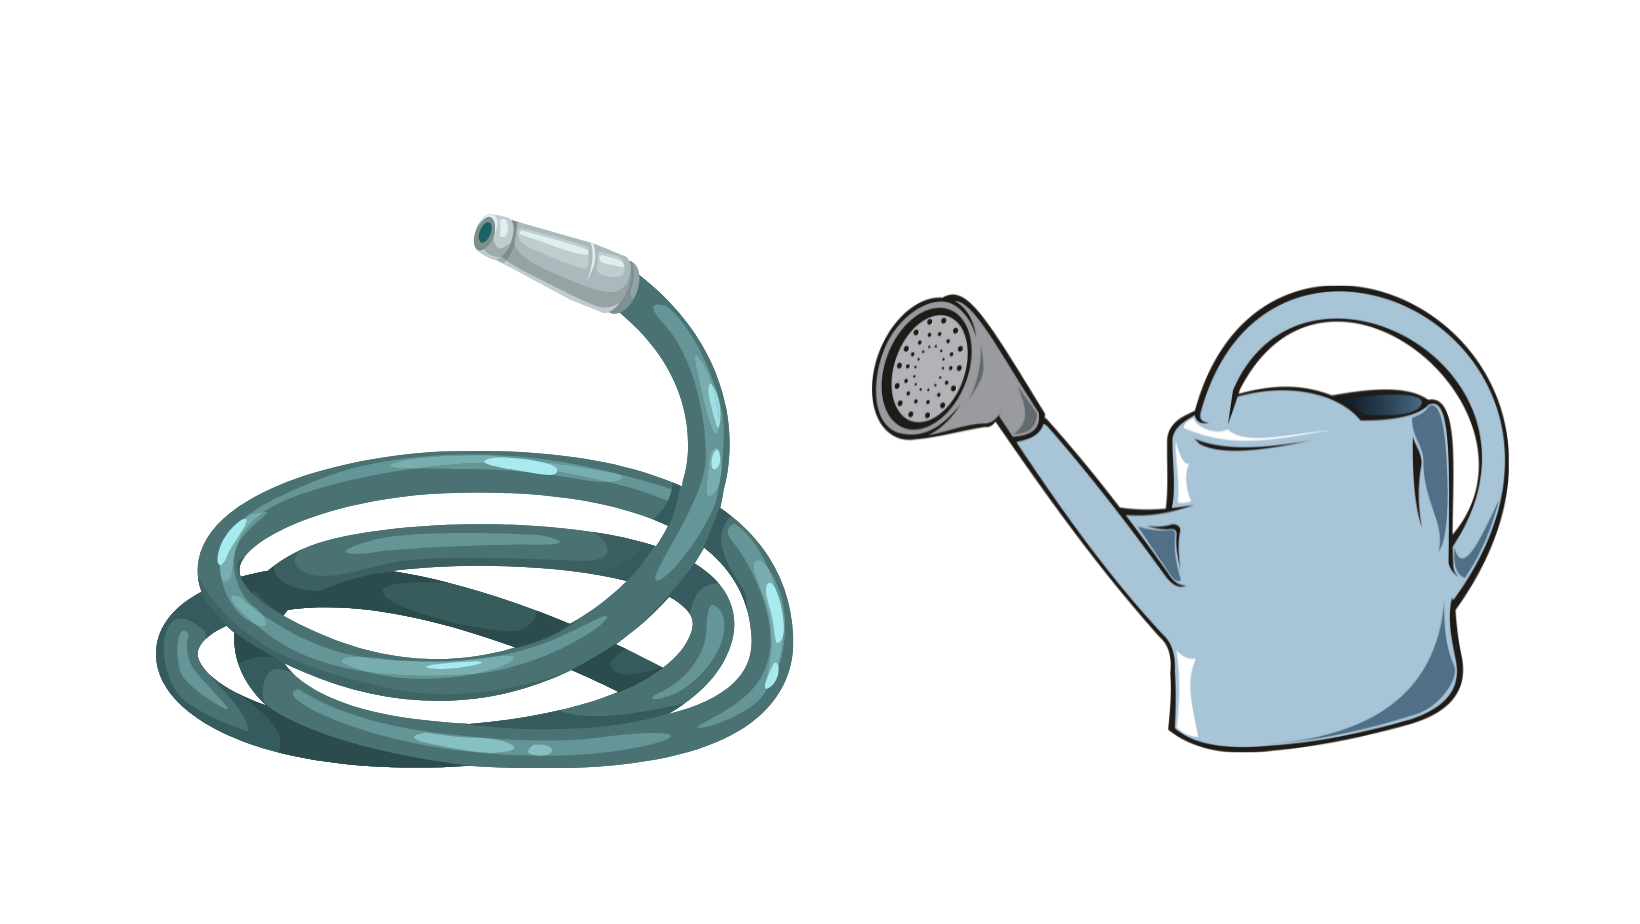
A watering method
You’ll also need a watering can or hose to add water if the pile gets dry. Normally, compost should feel like a damp sponge.

What else might you need, but isn’t essential?
These are handy but not essential:
A pitchfork (or shovel)
A tool like this is a good idea so that you can add things easily to the middle of the pile (helping to prevent smells and animals) and turn the pile if you want. You also need a shovel to remove the finished compost from the bottom of the pile.

A tarp
If you like things neat, you’ll want a tarp to keep the lawn clean when and if you turn the compost. It is also handy to drag a big pile of leaves over to the pile.

A compost thermometer
If you want to measure your effectiveness, in the non-essential but nice list is a compost thermometer (about $15) to check the heat of the pile.

What goes into a compost pile?
You need browns, greens, oxygen from air, and water. These are essential to the chemical reaction that occurs to make compost.
These elements work together, and the reaction between them makes heat which breaks down the organic matter in these two components, the greens and the browns, to make compost.
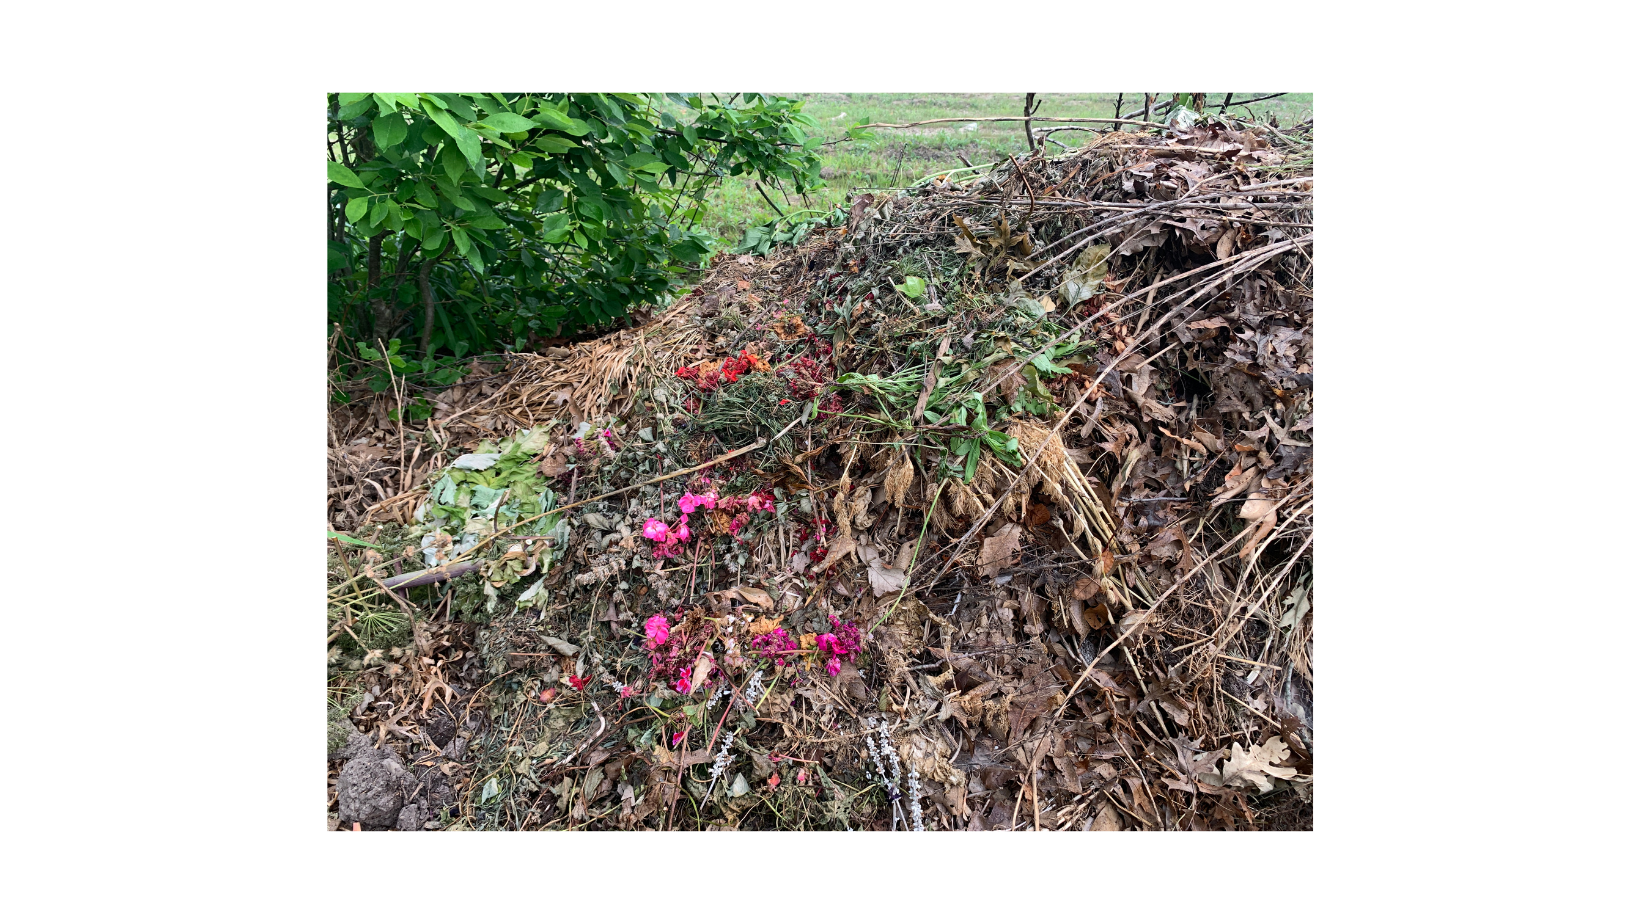
The browns are carbon based. They are named browns since often (but not always) the items are colored brown:
dried leaves
sticks
saw dust
straw
cardboard
paper

The browns react with the greens which are nitrogen based. They are often green (but not always):
fresh green leaves
weeds
dead or dying plants and bouquets that have gone by
coffee grounds (told you—not always)
kitchen vegetable or fruit scraps
These greens mix with the browns, the oxygen, and water to create heat which decomposes the browns and greens into compost. This is also called humus, a rich, crumbly soil-like product.
The balance between browns to greens counts too.
You need at least as much browns as greens, sometimes more. You may see different ratios for this balance in various places, but in general 1 brown to 1 green works fine. If the pile gets smelly or slimy, add more browns, but normally, if you have as much volume of browns as you do greens, things will go well. Of course, there is some complicated science going on in a compost pile, but in general there is no need to get into the details to make it work (unless you want to).
Do NOT add any non-vegetable or fruit wastes.
This means nothing with animal protein or fat. Nothing oily or greasy. No:
meat
butter
eggs (shells are OK)
oil
dog or cat feces
These invite vermin. If you do not want rats or other animals rummaging around in your compost pile, add only vegetable-sourced carbons.
Do NOT add any plastic—not even plastic that states it is biodegradable.
A certain plastic might indicate it is biodegradable, but only in an industrial level compost set-up where the piles are turned every day with large machines, adding a very large amount of oxygen to the mix. A relatively static home pile degrades very slowly and it would take years to compost plastic in this kind of pile. Stick to vegetable based items for your compost pile and things will go well. For best, and quickest results, break up the pieces to no larger than the size of your fist. Anything larger than that is difficult to break down within a few months.

Your Choice: There are two types of piles
(And many gradations in-between depending how much work you want to do).
Both are piles that you keep adding to every day, every week. The pile builds up over time, and eventually it turns into compost. With one type of pile, you just wait until it decomposes on its own. The other pile you add to daily, but every week or so you turn it. Turning heats the pile and it cooks more quickly and will probably produce compost within a few months or so. Turning is a lot of work, whereas a pile where you just wait is much less work. The finished compost is the same in both piles, but one pile produces it much more quickly. The choice is yours.
More air, more turning, the more quickly you get compost. This type of pile creates compost more quickly. If you want a pile that degrades quickly, meaning that you want good compost in about 3-6 months, you must turn the pile every week.
To turn the pile, you take the initial pile, the one with the most recent additions, and turn it over onto a tarp using the shovel, so what was on the bottom is now on the top. Mixing in more browns is also helpful. This introduces lots of air and allows decomposition to happen more quickly.
If you want to turn regularly, you might divide the original pile into 3 separate piles, one next to another. You turn the first, fresh pile and each time you turn it, you move the more finished (but still decomposing) compost to the right into a new pile, the cooking pile, and then again in the cooking pile, you take out the finished compost at the bottom of that pile and move it to the right into the finished pile. That is the pile you use for gardening. If you have a compost thermometer, you can measure the first pile in a week or 10 days after turning and ideally, it will be hot, about 150 degrees. This hastens decomposition, kills weed seeds and pests, and makes compost quickly. It is also quite a lot of work. It is your choice which type of pile you want.
The other way to run your compost pile is statically. You basically let it sit and it will cook, but much more slowly than a pile that is turned frequently. This pile will cook and make compost, but it will take a year, or more likely 2 years, before it becomes compost. This is much less physical; there is little turning, but you will get compost—eventually. It is your choice.
Heat—one of the differences between the two types of piles
In an active (regularly turned) compost pile, heat is good, but do not go over 160 degrees. You will kill off beneficial micro-organisms. The ideal range is 135-145 degrees. An unturned static pile doesn’t heat up much past 100 degrees, but it will eventually decompose. Measure in several places since there are hot and cold spots in the normal pile.
Solutions for Common Composting Issues
“I think (or my neighbor thinks) it looks too messy.”
If you want, you can try buying or even making your own container. You can fence off your compost pile with some chicken wire and stakes, or go even fancier with bins that allow for moving the compost from one bin area to another. This might be more helpful for turned piles than static piles. It is up to you. It is not necessary for making compost but can make you (and/or your neighbors) feel better about your compost since it will look neater and nicer. You can buy compost tumblers, but my experience is those are difficult to turn and do not work well for the most part, especially if you intend to do lots of composting with a lot of garden or yard wastes. They are fine for a 1-2 person household who primarily compost kitchen scraps.
“It is attracting critters.”
Bury the greens about 10” down in the pile under browns.
“I put in too many grass clippings and now it’s like a soggy mat.”
Make thin layers of your grass clippings and balance with browns. Don’t mow when the grass is wet, or dry the clipping before adding. Use extra clippings as mulch under bushes, etc.
“It smells like ammonia.”
Add browns; greens aren’t balanced.
“It seems to be decomposing too slowly.”
Turn or just wait. Add some finished compost or soil to ‘seed’ the micro-organisms needed for composting. Be sure it is damp enough. Turning will produce compost in 3-6 months depending on the size of the pieces. Wait 2 years +/- to get compost without turning. It will become compost eventually.
If your compost is smelly and slow to decompose, it might be acidic. Check the PH with a PH meter (it should register between 6-8) or take it to the local Cornell Cooperative Extension and ask for a PH test (there is a charge for this). Cut back on acidic fruits, like orange or lemon peels, and too many tomato peels, seeds, etc. in canning season. Sometimes a handful of wood ash can help, although do not add too much (one inch layer to every 18 inches of finished compost).
“It is slimy and smelly with flies buzzing around.”
It is too wet. Dig up and remove pile to a tarp, then add back layers of greens and many more browns. Scrunch up newspaper to provide air spaces. Cover pile when heavy rain is expected.
“I never seem to have enough browns on hand.”
There are always a lot of greens to add to the pile, while it is often hard to find enough browns. I ‘stockpile’ leaves in plastic bags and also in a big pile in fall when there are a lot of them available. I also sometimes go around places where people put their leaves out in bags and pick the bags up and keep them until next year when I add them to my compost pile.
Leaves that are piled will create leafmold over time, a type of compost made only from leaves. It is a fabulously helpful garden amendment, good for adding structure to the soil, as mulch, as paths, or for adding to compost to stretch it. It takes as long as 3-4 years to create leafmold. You should no longer be able to see recognizable leaves in the mix when it is ‘done’.